Getting your map live
A new map is a draft: it has its address, but nobody can open it until you go live. The map's page shows a four-step checklist until then, and the active step is the thing to do next.
The four steps
Map created
Done the moment your Waygo team creates the map. The header shows the address the map will answer on, for example
maps.waygomaps.com/acme-expo-2027, with the note “will work once you go live”. The address is part of every link you make later, so it cannot change.Upload your floor plans
Click the step (or Upload floor plan in the Floor plans section). One file per level, PDF, DWG, DXF, SVG, PNG, JPEG or TIFF, up to 50 MB each. Pick the level for each file, or name a new level. Details in Uploading floor plans.
The step reads done once every level has a floor plan. You can keep uploading corrections while a plan is still marked Uploaded.
Waygo builds your map
Nothing to do here. Waygo turns each drawing into searchable rooms, booths and corridors, adds the walking paths that power directions, and styles the map. The step lists what it is still waiting on (“Waiting on: Map style · Base map”) so you always know where the build stands.
Go live
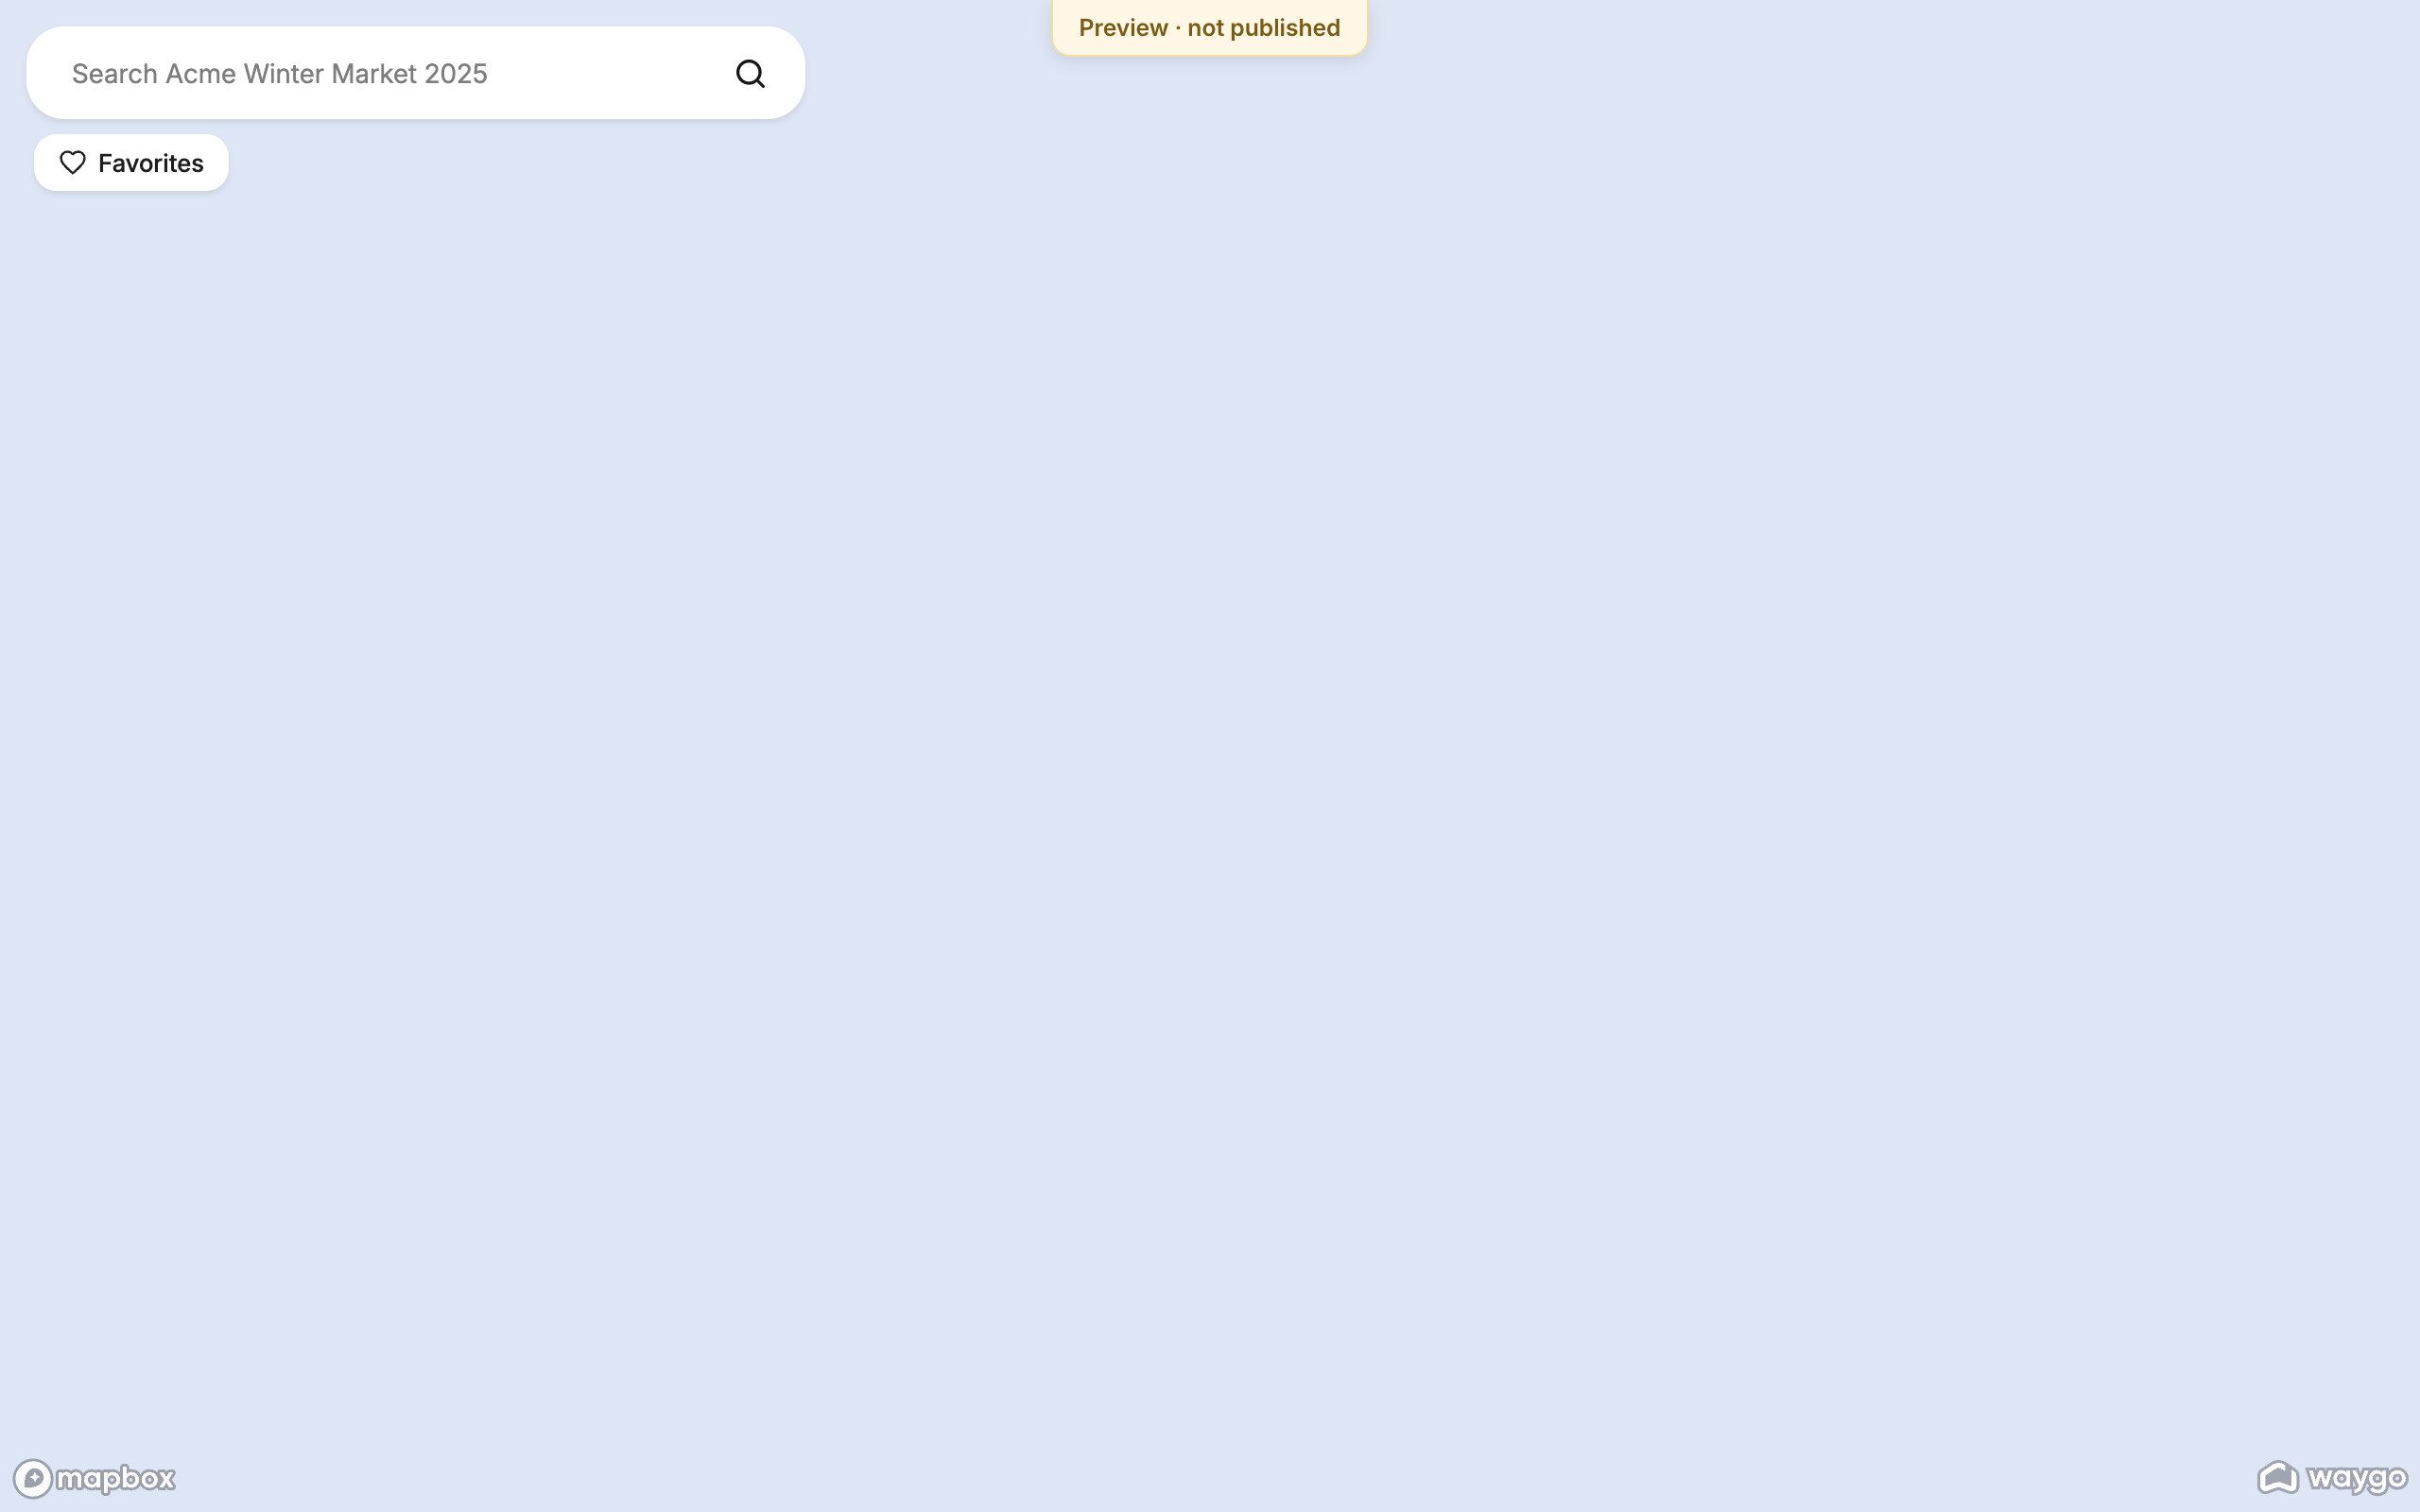
Preview in the header opens the map through a private link that works for 24 hours, so you can check it on your phone and share it with colleagues before anyone else sees it. When it looks right, click Go live and confirm. Every link, embed and kiosk answers from that moment.
Going live does not wait for content. Add your exhibitors, sessions and amenities before or after; changes reach the live map as you make them. See Content catalogs.
What you see while Waygo builds
The Floor plans section lists every drawing with its level and status:
| Status | Meaning |
|---|---|
| Uploaded | Waygo has the file and it is in the build queue. You can still delete it and upload a replacement. |
| Building | Waygo is turning it into a level. |
| Ready | The level exists on the map. |
| Failed | The drawing could not be built; your Waygo team will contact you about it. |
After you go live
- The status pill reads Live and the header's Preview button becomes Open map.
- The checklist is replaced by the Publishing section. Your first content labels are baked automatically when you go live, at no cost to your publish allowance. See Publishing and going live.
- You can take the map offline at any time from the ⋯ menu and go live again later. Links and kiosks keep their addresses.
Frequently asked questions
- How long does it take Waygo to build a map?
- It depends on the number of levels and the quality of the drawings. Your Waygo team confirms a date when you upload; the map page shows the build progress level by level.
- Can I see the map before it is live?
- Yes. The Preview button on a draft or offline map opens it through a private link that works for 24 hours. Anyone with that link can open the map during that time.
- Can visitors open the map address before I go live?
- No. Until you go live, the public address shows “This map is not available right now”, and so do every link and kiosk that point at it.
- What if I need to change a floor plan after the map is built?
- Upload the new drawing on the same level from the Floor plans section. It appears as an update awaiting build beside the current plan, and Waygo rebuilds that level.
- Do I need a developer to get my map live?
- No. Every step in this guide happens in the dashboard. Developers are only involved if you integrate the API or build a custom experience with Waygo.js.